Showing posts with label Vinyl Cutting. Show all posts

Sunday, October 16, 2011

History repeats itself... Before & After

I have had my eye on this sign for awhile now. Lately it seems I have been gravitating to the Ballard Design creations.  There isn't too much I don't like from their vintage collection.  They make my heart sing.  Their pieces speak to me... I love the challenge of stepping out of my comfort zone.

I loved the shape of this sign, rather than a straight board.  It promptly went in my inspiration file for future consideration.  The first thing I do when I am bored is pull up the file and see if something bites and hope it will motivate me to get back down to the workshop.

Yesterday, was one of those days.  Housework was all done, outside work was on hold due to rain... hence a guilt free play day. 

A friend gave me this board a year or so ago and there it sat in my garage along with all the other piles in waiting.  I didn't quite know what to do with it... I knew that heart absolutely had to go and that was the last I thought about it...

until I needed a large board for my newest creation...
I cut it on each side of the heart, then screwed the two pieces together and drew the design...

using my miter and jig saw (first time using that, another one mastered) it was starting to take shape... 
I attached the two pieces using my Kreg Jig, Gorilla glue and a couple brackets for reinforcement...

I pulled a frame back out of my trunk that was destined for the Sally Ann...
cut it and used it for the top border...
glued and air nailed it in place.

Now onto the fun part...

this was my inspiration for the wording... if pictures could only talk,
I'd have a thousand questions for you.

This is my Great Great Grandfather, Andrew McNutt at his store in Nova Scotia.  Circa 1880 - 1910.   He was a very successful business man in his day... 


he went on to own the whole block, which was named after him.

My niece put me on to a long lost relative that provided me with this information along with numerous photos of the family.  Thanks so much Tim, I can't thank you enough. 
Who would have thought that making a piece of history would open so many doors. 
Before I made this I knew very little of my history.   
I used the Cricut to cut the letters (thanks Gail, I used contact paper to save on vinyl, worked great)... applied them to the board which I had previously painted black... painted the second colour over the letters... not so patiently waited for the paint to dry and peeled them off... (wait for the paint to dry,  not that I messed up a few because "Impatient" is my middle name)

I gave it a good sanding with 150 grit...

then applied ebony stain and a coat of Light Pine Briwax...

It now proudly hangs in my kitchen...

Now I have my own little piece of history to enjoy.

Looks like a piece that has been hanging around for 100+ years...
don't you think?

The best part is that it didn't cost me a penny... I had all the materials left over from other projects, even the paint was given to me.

Now you wanna know what Ballard Design charged?

So what do you think? 

I'm off to see what new piece I can steal borrow from them next...

Hugs,

Saturday, April 30, 2011

A little updating... and stripping

You may remember this mirror from a few weeks back.   I am not liking that ceiling showing, so I thought maybe I could just divert your attention from it. 

Tammy hasn't picked up her cutting machine yet, so I went ahead and ordered some vinyl off of Ebay.  Did you know that they have a vinyl that looks like etching?  I love etching but never had the desire to tackle that messy process. 

This vinyl honestly looks like the real deal.  I love it.  
(I can't get a decent picture of this mirror, sorry).
now at least you are not just looking at ceiling. 
What do you think?

Ah Ah got your attention, didn' I?!... no I haven't taken up a new profession...

that border is finally coming down... another inherited piece of this house.

I got this corner done yesterday...

but I have the rest to finish today if my hand and arm hold out...

I will be so glad to see it GONE...

just thought I would share a pic with you... this is my daughter's car... we had 70 mile winds on Thursday all day, it was horrible... I feel so bad for the people South of us... such devastation.   I am still in shock that all my trees are still standing.

But unfortunately this one didn't stay put on Lisa's street. She is so upset, but thankful she and Mya weren't in it at the time. 

Looks like this little munchkin is happy to be getting new wheels...


isn't she getting big?

Well I am off to strip...
Hope you have a great weekend... they are promising nice weather today and NO RAIN... it is 30F right now do you think the weather guesser is right?... I will keep you posted.

Hugs,

Saturday, April 9, 2011

PB KO - Tutorial

My daughter's girlfriend was kind enough to lend me her Cricut machine for a bit.  I was so frustrated using it as it is so limited unless you want to pay a fortune for extra cartridges.  I went on a search and found a SCAL program that enables you to do what YOU want, so I purchased it.   As soon as I downloaded it, I knew what my first project was going to be.  I have wanted this board since I saw it floating around blogland for the past year.  

 PB picture source
Rachel from Holy Craft did an amazing tutorial on her version of the board.
  
~~~~~~~~~~~~~~~~~~~~~~~~~~~~~~

I added a simple tutorial for you with a little more detail on cutting the grooves if you are interested in making one for yourself.

Cut your board to the desired size...
(I used a 1/2" piece of plywood cut to a  25" x 25" square with a 5" square)
measure and mark your squares evenly on the board

Note: you will need 6 down and 6 across for the alphabet board
 (scroll to the bottom of post for the newest version)

to make the groves on your board...
set your blade on your table saw to a 1/4" cut...

measure to be sure your fence is square... you will need to be exact on these cuts

measure the width of your board squares
now measure from the fence flat edge to the middle of the blade
 TIP: don't go too deep or it will be difficult to work the stain in later

cut your grooves...
keep rotating your board until all outside grooves are completed
~
next measure in for the next row, again measure from fence to middle of blade and rotate board again to complete the inside cuts

As you can see I have an additional oops line...
I used the framing square to measure and didn't compensate for the lip, 
 I just did another pass using the correct measurement.

I am liking the extra detail,
sometimes your mistakes turn into your best project...

sand your board smooth...

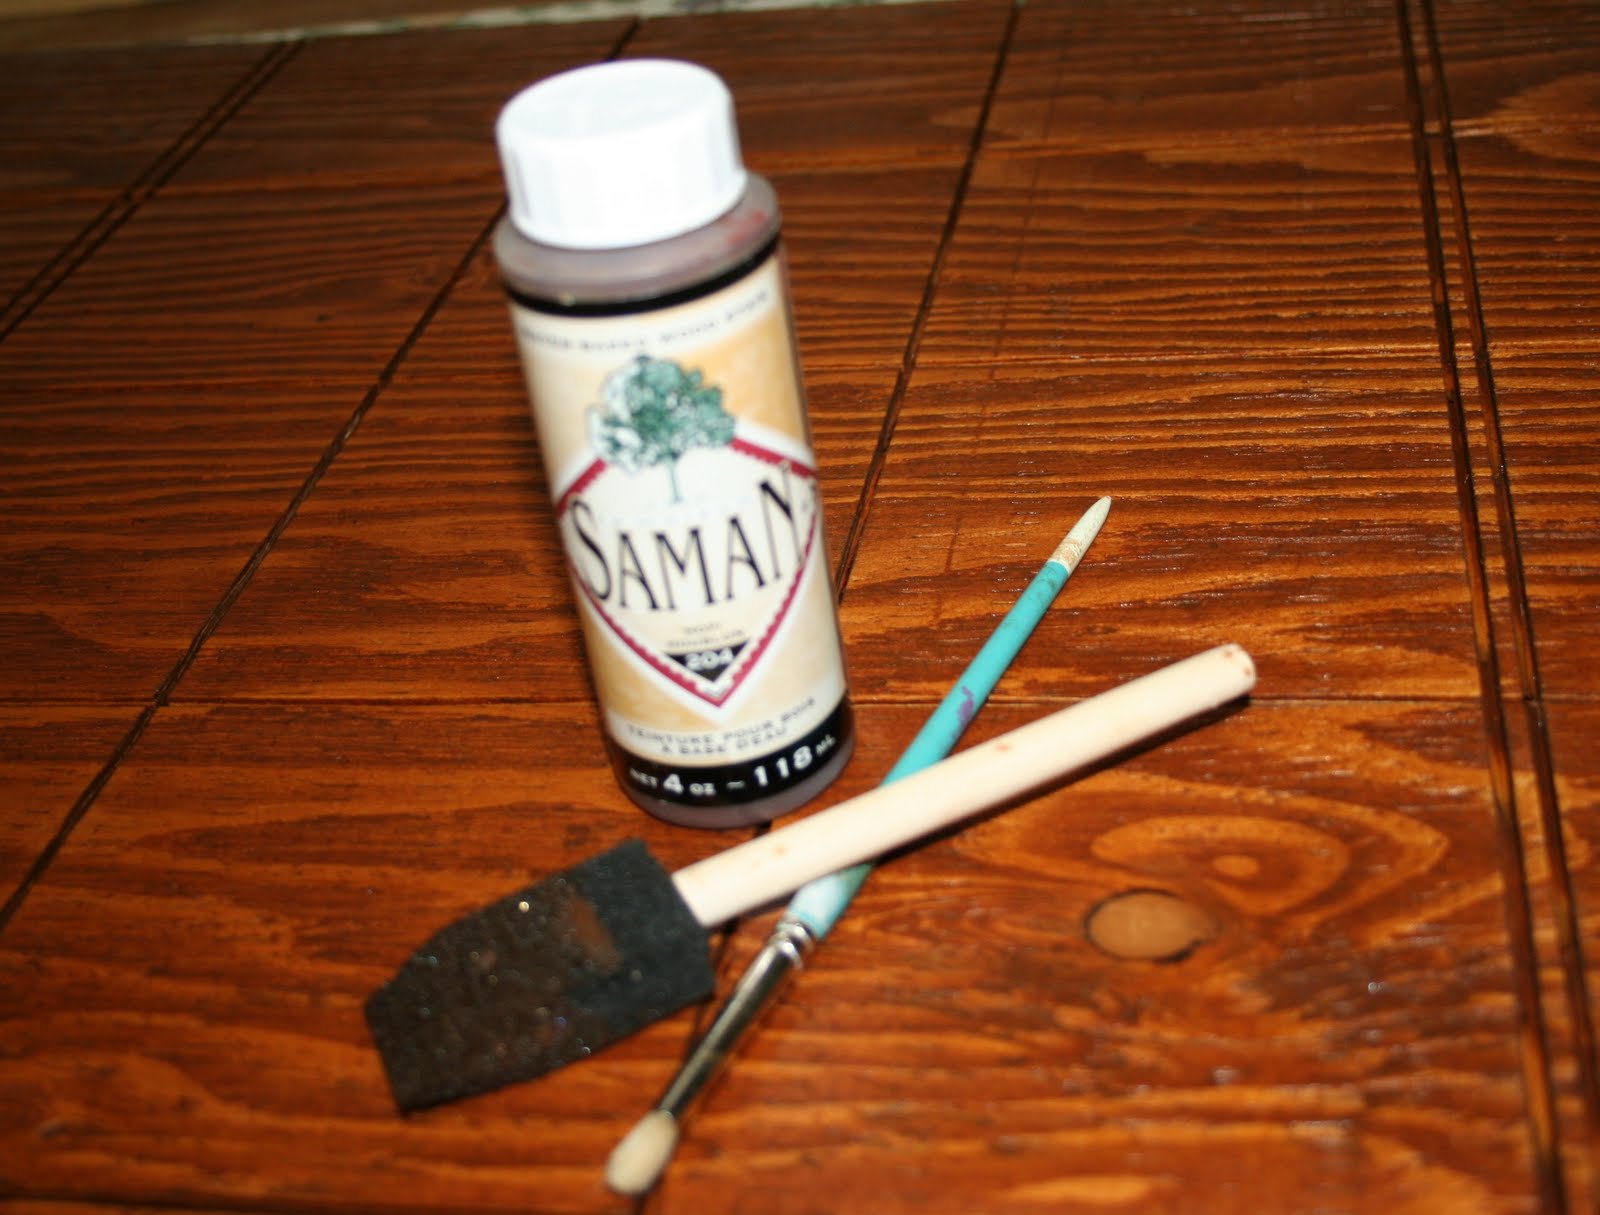
I used a water based stain... this stuff worked amazingly well on raw pine...
use a stiff brush (stencil brush) to work the stain into the grooves... sorry for the terrible pic


if you are lucky enough to have a cutting machine
cut your letters out using a typewriter font
(I used a 3.5" size font)...
you can also print and cut out the letters and use Modge Podge to apply them..
I made a template for centering, this saved a great deal of time
TIP: instead of Modge Podge use diluted Elmer's glue


apply your letter to the board

make a frame for your board
I ripped a 1" x 4" to 1.5" wide...


this was my first attempt at cutting mitred corners...
I got them perfect, I actually shocked myself... I always thought they were so hard.  Not true, measure twice, cut once.

I used the air nailer to attach the frame...


it reads
"MYA PATRICIA OUR GIFT FROM GOD"


For the newbees this little honey is Mya Patricia, my first and probably only grandchild.  Mya truly is a gift from God... she had a pretty rough start but was a fighter all the way.  She has brought so much joy to us all. 

There you have it folks, my version of the PB Typewriter board.

This could be personalized for a new baby... with weight and birthdate... the possiblities are endless. 

So what do you think? 

 Would PB approve?

Plywood Board - $0.00
Stain - Walmart - $1.00
2 pcs of 1" x 4" - 2.00
all other stuff I had in my stock...
TOTAL COST - $3.00

My newest board...

My newest board using the exact instructions above... this one got a paint and glaze treatment rather than the stain. 

I  made this for a fundraiser for a friend... it was a hard one to give away.

If you have any questions please do not hesitate to contact me.  I would be more than happy to help you out. 

HUGS,