My daughter's girlfriend was kind enough to lend me her Cricut machine for a bit. I was so frustrated using it as it is so limited unless you want to pay a fortune for extra cartridges. I went on a search and found a SCAL program that enables you to do what YOU want, so I purchased it. As soon as I downloaded it, I knew what my first project was going to be. I have wanted this board since I saw it floating around blogland for the past year.


Note: you will need 6 down and 6 across for the alphabet board
(scroll to the bottom of post for the newest version)


HUGS,

PB picture source
Rachel from Holy Craft did an amazing tutorial on her version of the board.
~~~~~~~~~~~~~~~~~~~~~~~~~~~~~~
I added a simple tutorial for you with a little more detail on cutting the grooves if you are interested in making one for yourself.

Cut your board to the desired size...
(I used a 1/2" piece of plywood cut to a 25" x 25" square with a 5" square)
measure and mark your squares evenly on the board
Note: you will need 6 down and 6 across for the alphabet board
(scroll to the bottom of post for the newest version)

to make the groves on your board...
set your blade on your table saw to a 1/4" cut...

measure to be sure your fence is square... you will need to be exact on these cuts

measure the width of your board squares
now measure from the fence flat edge to the middle of the blade
TIP: don't go too deep or it will be difficult to work the stain in later

cut your grooves...
keep rotating your board until all outside grooves are completed
~
next measure in for the next row, again measure from fence to middle of blade and rotate board again to complete the inside cuts

As you can see I have an additional oops line...
I used the framing square to measure and didn't compensate for the lip,
I just did another pass using the correct measurement.
I am liking the extra detail,
sometimes your mistakes turn into your best project...

sand your board smooth...
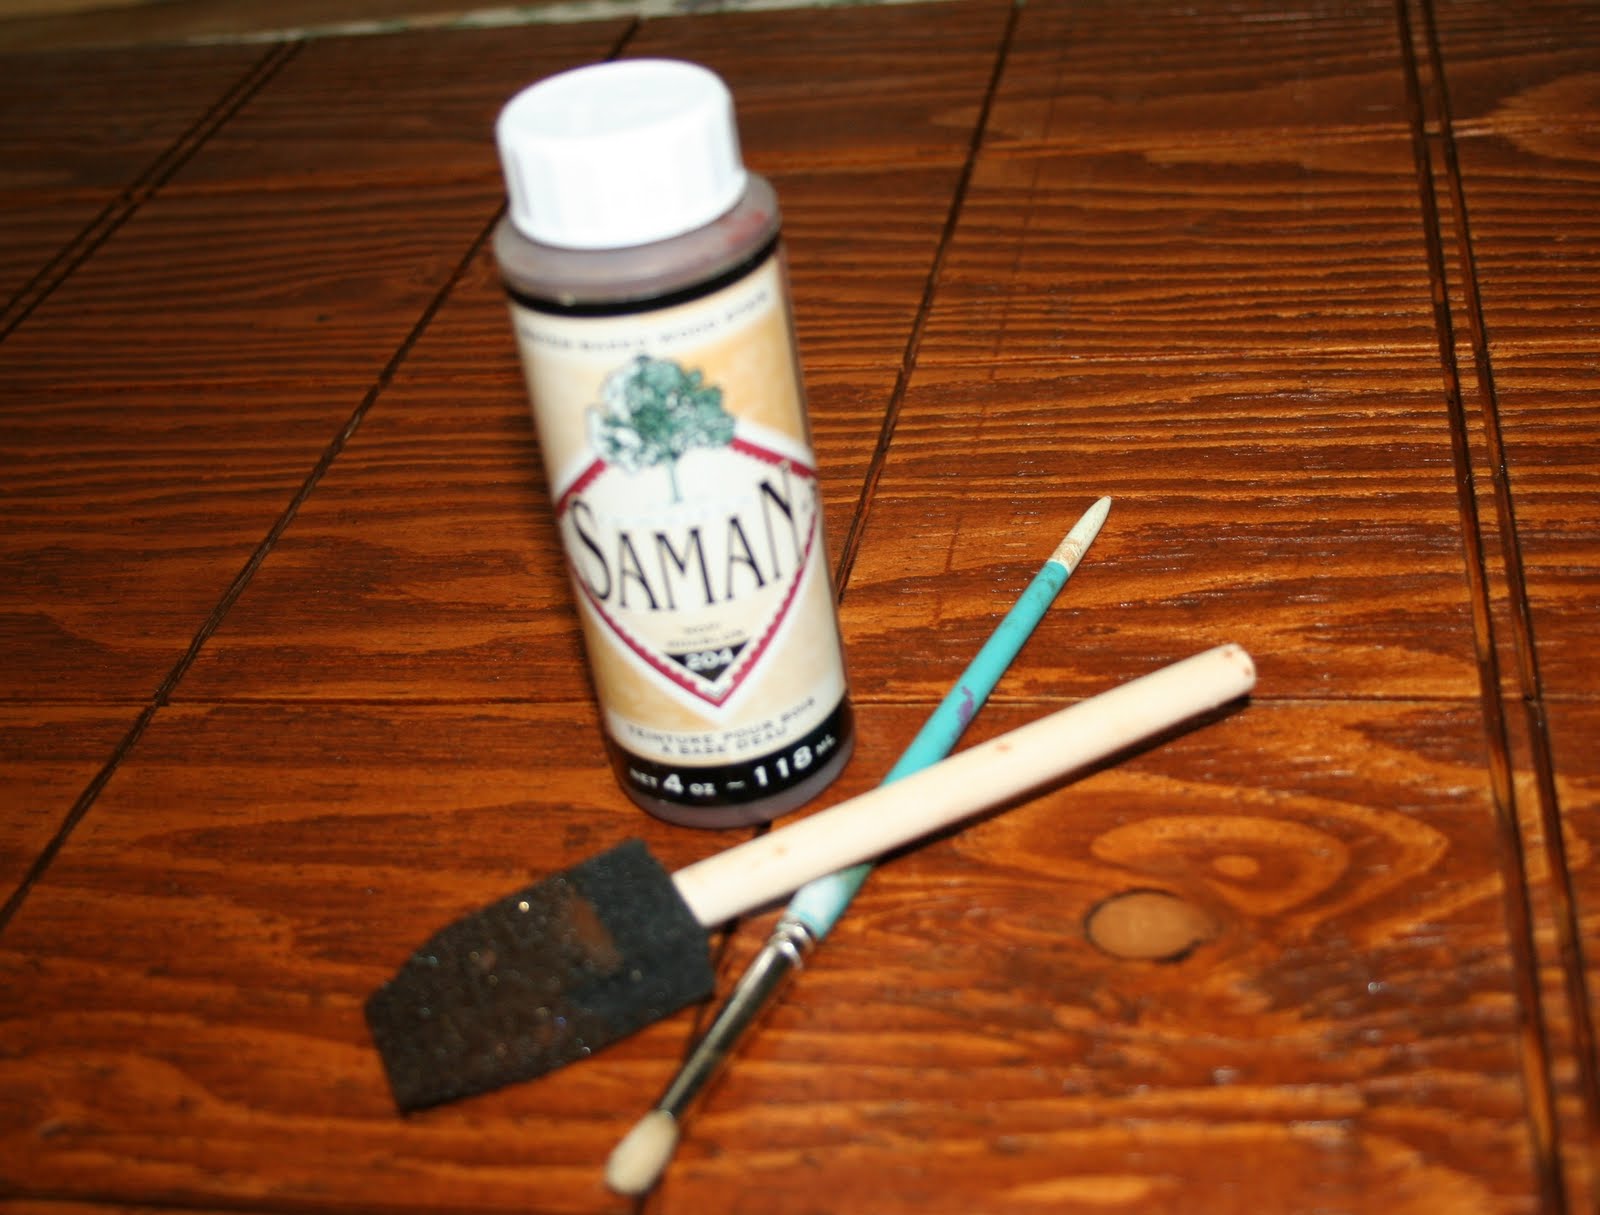
I used a water based stain... this stuff worked amazingly well on raw pine...
use a stiff brush (stencil brush) to work the stain into the grooves... sorry for the terrible pic

if you are lucky enough to have a cutting machine
cut your letters out using a typewriter font
(I used a 3.5" size font)...
you can also print and cut out the letters and use Modge Podge to apply them..
I made a template for centering, this saved a great deal of time
TIP: instead of Modge Podge use diluted Elmer's glue

apply your letter to the board

make a frame for your board
I ripped a 1" x 4" to 1.5" wide...

this was my first attempt at cutting mitred corners...
I got them perfect, I actually shocked myself... I always thought they were so hard. Not true, measure twice, cut once.
I used the air nailer to attach the frame...

it reads
"MYA PATRICIA OUR GIFT FROM GOD"

For the newbees this little honey is Mya Patricia, my first and probably only grandchild. Mya truly is a gift from God... she had a pretty rough start but was a fighter all the way. She has brought so much joy to us all.

There you have it folks, my version of the PB Typewriter board.
This could be personalized for a new baby... with weight and birthdate... the possiblities are endless.
So what do you think?
Would PB approve?
Plywood Board - $0.00
Stain - Walmart - $1.00
2 pcs of 1" x 4" - 2.00
all other stuff I had in my stock...
TOTAL COST - $3.00
My newest board...

My newest board using the exact instructions above... this one got a paint and glaze treatment rather than the stain.

I made this for a fundraiser for a friend... it was a hard one to give away.
If you have any questions please do not hesitate to contact me. I would be more than happy to help you out.
HUGS,
16 comments:
This is really nice! Is there a hidden message inside?
Connie
Wow Deb, that is so cool!! And the fact that you put Mya into it, makes it all that more special! What an awesome job. You are so lucky that you know how to use all those POWER tools...lol! Great picture of Mya also!!
Brenda
I have been drooling over this same PB art forever! I love your version... it looks amazing and is personalized... thank you for including the directions, I may just give this a try!
Holy Cow! Crow's Toes! A+++! What a Woman! That is amazing! Perfect mitred corners the first time? My husband is gonna faint when I tell him : ) Love it to pieces and how wonderfully special you made it with the message. I'm in deep awe here!
Aww, that is truly special Deb. I love it! Another masterpiece from my Canadian inspiration:) Hugs~Carol
ohhh Deb! It's perfect! I love everything about it. (even the oops)
great tute!
thanks for sharing,
gail
unusually warm here... mid 80's!!! I have a sunburn.
At $3 I'm sure PB would NOT approve... But I sure do. Nice work!
Mya is a beauty - I love how personalized your piece is - way better than just the alphabet.
I stopped by from Funky Junk's Saturday Nite Special. Have a blessed weekend!
Sara
www.TheOtherEndOfTheCandle.blogspot.com
Great job Deb! I'm impressed with your skills with the saw and nailer!
You did an awesome job Deb! I think PB would be jealous! I love that you personalized it like that too. I was trying to figure out if it did say something. Love those perfect miter corners too!
Very sweet! You did a fantastic job! :D
Deb, thanks so much for stopping by my blog and leaving such kind comments!
I really love how your PB typewriter board came out! It's looks fantastic!
I so appreciate how you love to save old pieces and give them new life. So much waste in the world, isn't there? So glad you're doing your part to turn trash into treasure!
Can't wait to see future projects.
All the best,
Keith (gwspcreations
Great job on the board Deb! See, miter cuts aren't so tough to do. I'm so proud of you for your progress with power tools!
That Mya is such a cutie. sigh....hopefully someday I'll get a grandchild. Maybe. I can hope can't I?
I finally got a chance to swing by and see it! Nice job! I love that you personalized it. It's amazing.
Rachel
Wow this is great, you are very talented but there is no way I could do this.
You are so incredibly talented! I wish I had your kind of guts to use power tools. One question: whicg font did you use for the cute typewriter keys? Many thanks! carriefung {at} yahoo {dot} com.
PB will be sad that they didn't think to say something as nice as this first! Thank you for sharing your beautiful craft and detailed how-to!
Post a Comment